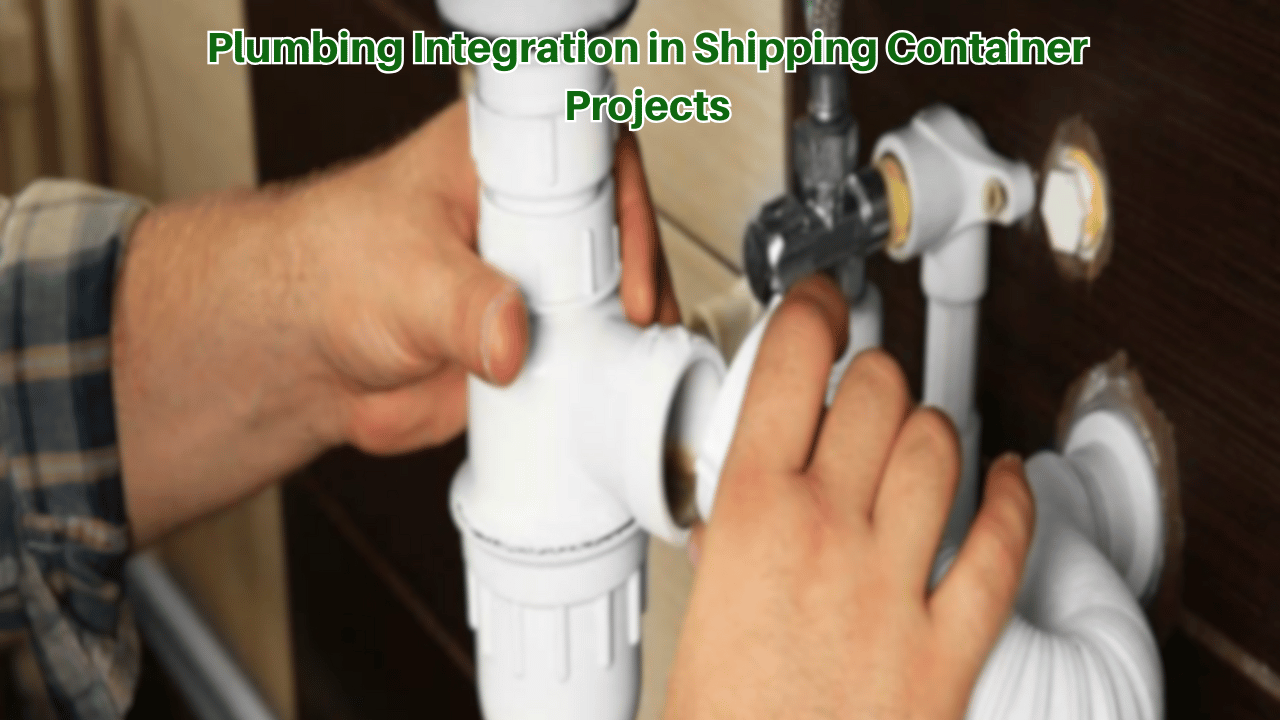
Plumbing Integration in Shipping Container Projects
Why Plumbing Integration Matters in Shipping Container Designs
Shipping container projects—whether homes, offices, or modular builds—have surged in popularity thanks to their cost efficiency and eco-friendly appeal. However, integrating plumbing systems into these steel structures is often one of the most overlooked yet critical phases.
In practice, effective plumbing integration ensures comfort, hygiene, and long-term functionality. Without proper planning, owners may face corrosion, leaks, or space inefficiencies. Since containers were not originally designed for water supply or waste management, developers must treat plumbing as a core structural consideration, not an afterthought.
Key reasons to plan plumbing early:
- Structural modification: Cutting holes or welding fixtures affects container integrity. Early design prevents costly rework.
- Insulation and condensation control: Proper pipe placement reduces moisture build-up inside walls.
- Connection efficiency: Aligning plumbing networks with local utility systems saves time during permits and inspections.
A common mistake is installing fixtures before confirming slope and drainage routes—resulting in backflow or water pooling. Thus, the “why” behind plumbing integration is not just comfort, but sustainable durability.
How to Plan and Execute Plumbing Integration Effectively
 Step 1: Design for Efficiency
 Step 1: Design for Efficiency
Start with a plumbing layout plan during the architectural design phase. Map all wet areas—kitchens, bathrooms, and laundry zones—close together to minimize pipe runs and reduce energy waste from hot water systems.
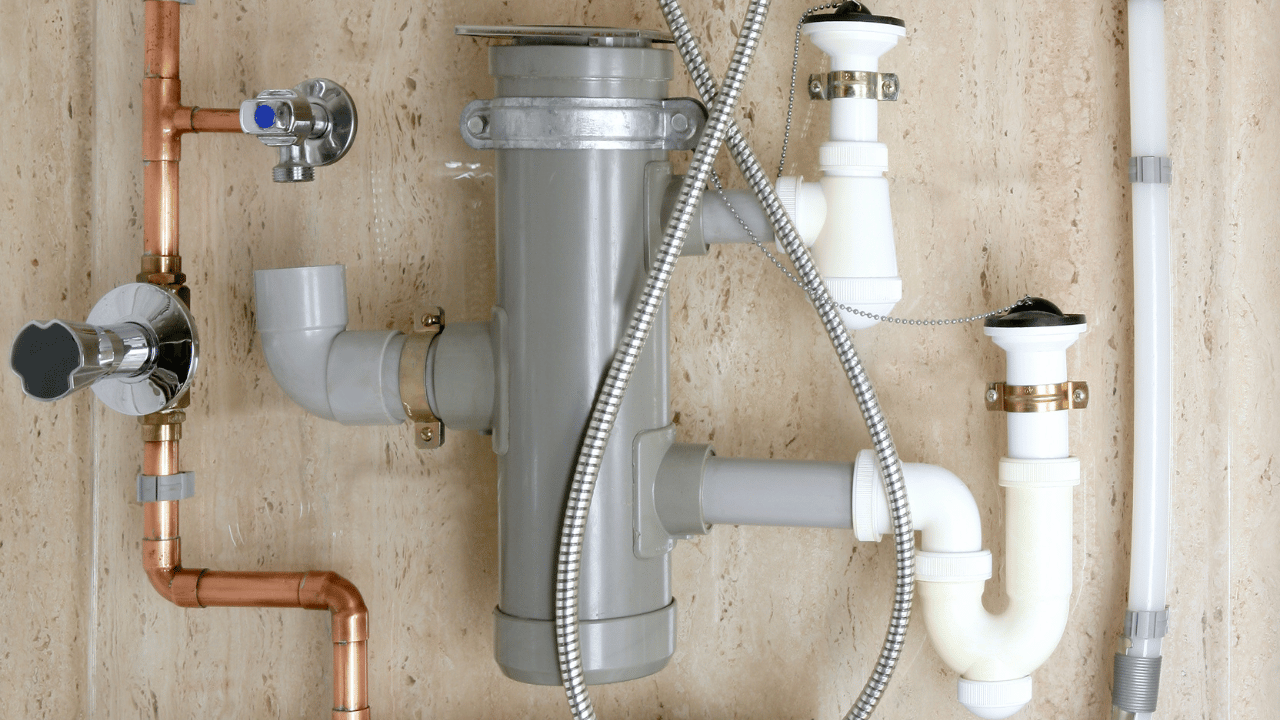
Step 2: Choose the Right Materials
In container projects, flexibility and corrosion resistance are non-negotiable. PEX (cross-linked polyethylene) or PVC pipes are often preferable over metal due to their adaptability and moisture resistance.
Example: In a seaside container home, builders used PEX piping to handle salt air exposure—an issue that typically leads to steel pipe corrosion.
Step 3: Install with Precision
Installation happens after insulation but before interior finishing. Always drill openings through reinforced zones and apply rust-proof sealants at every penetration point.
Checklist for proper installation:
- Verify drainage fall (at least 1/4 inch per foot).
- Test for leaks before wall closure.
- Label all service points for easy future maintenance.
Step 4: Integrate with Sustainable Systems
To align with eco-friendly building goals, consider greywater recycling or rainwater harvesting systems. These can integrate easily into container plumbing networks with the right filtration and storage setup.
When to Integrate Plumbing for Optimal Results
 Timing is crucial. The most efficient stage for plumbing integration is immediately after container modification and framing but before any insulation or paneling. At this phase:
- Access points are open, allowing pipe routing without obstructions.
- It’s easier to inspect welds and sealants around penetrations.
- Adjustments can still be made if alignment issues arise.
In practice, synchronizing plumbing with electrical and HVAC installations avoids rework and maximizes interior space utility.
FAQs of Plumbing Integration in Shipping Container Projects
- Can plumbing be added to an existing container home?
Yes, but retrofitting can be challenging. It requires cutting through finished walls and may compromise insulation. Always consult a certified plumber experienced in modular builds. - What’s the best way to prevent rust or leaks in container plumbing?
Use corrosion-resistant fittings, apply waterproof sealants, and ensure all openings are properly welded and painted. Regular inspection—especially near joints and outdoor connections—extends service life significantly.
By integrating plumbing thoughtfully and early, shipping container projects become not only livable but also durable, efficient, and compliant with modern building standards.


Add comment